Github App to manage a self-serve list of podcasts
In this article, we’ll see how you can implement a “self-server” podcasts list management system using github with:
- a github app to process issues and pull requests
- a github action to regenerate the web site every day at a given time
- an AWS lambda to implement the github app
- a docker container, hosted in AWS ECR to deploy the lambda
Netlify is used to host the site, using Gastbsy.
A self-serve podcast list management
The site https://www.podcastfr.com is a website to list technical podcasts in the french language.
To make it easier to maintain, I wanted to allow anyone to:
- submit a new podcast
- update information associated to a podcast
To achieve this, I used github as a CMS system.
A public repository is available for contributors: https://github.com/pcarion/podcastfr
Github issues to add a new podcast
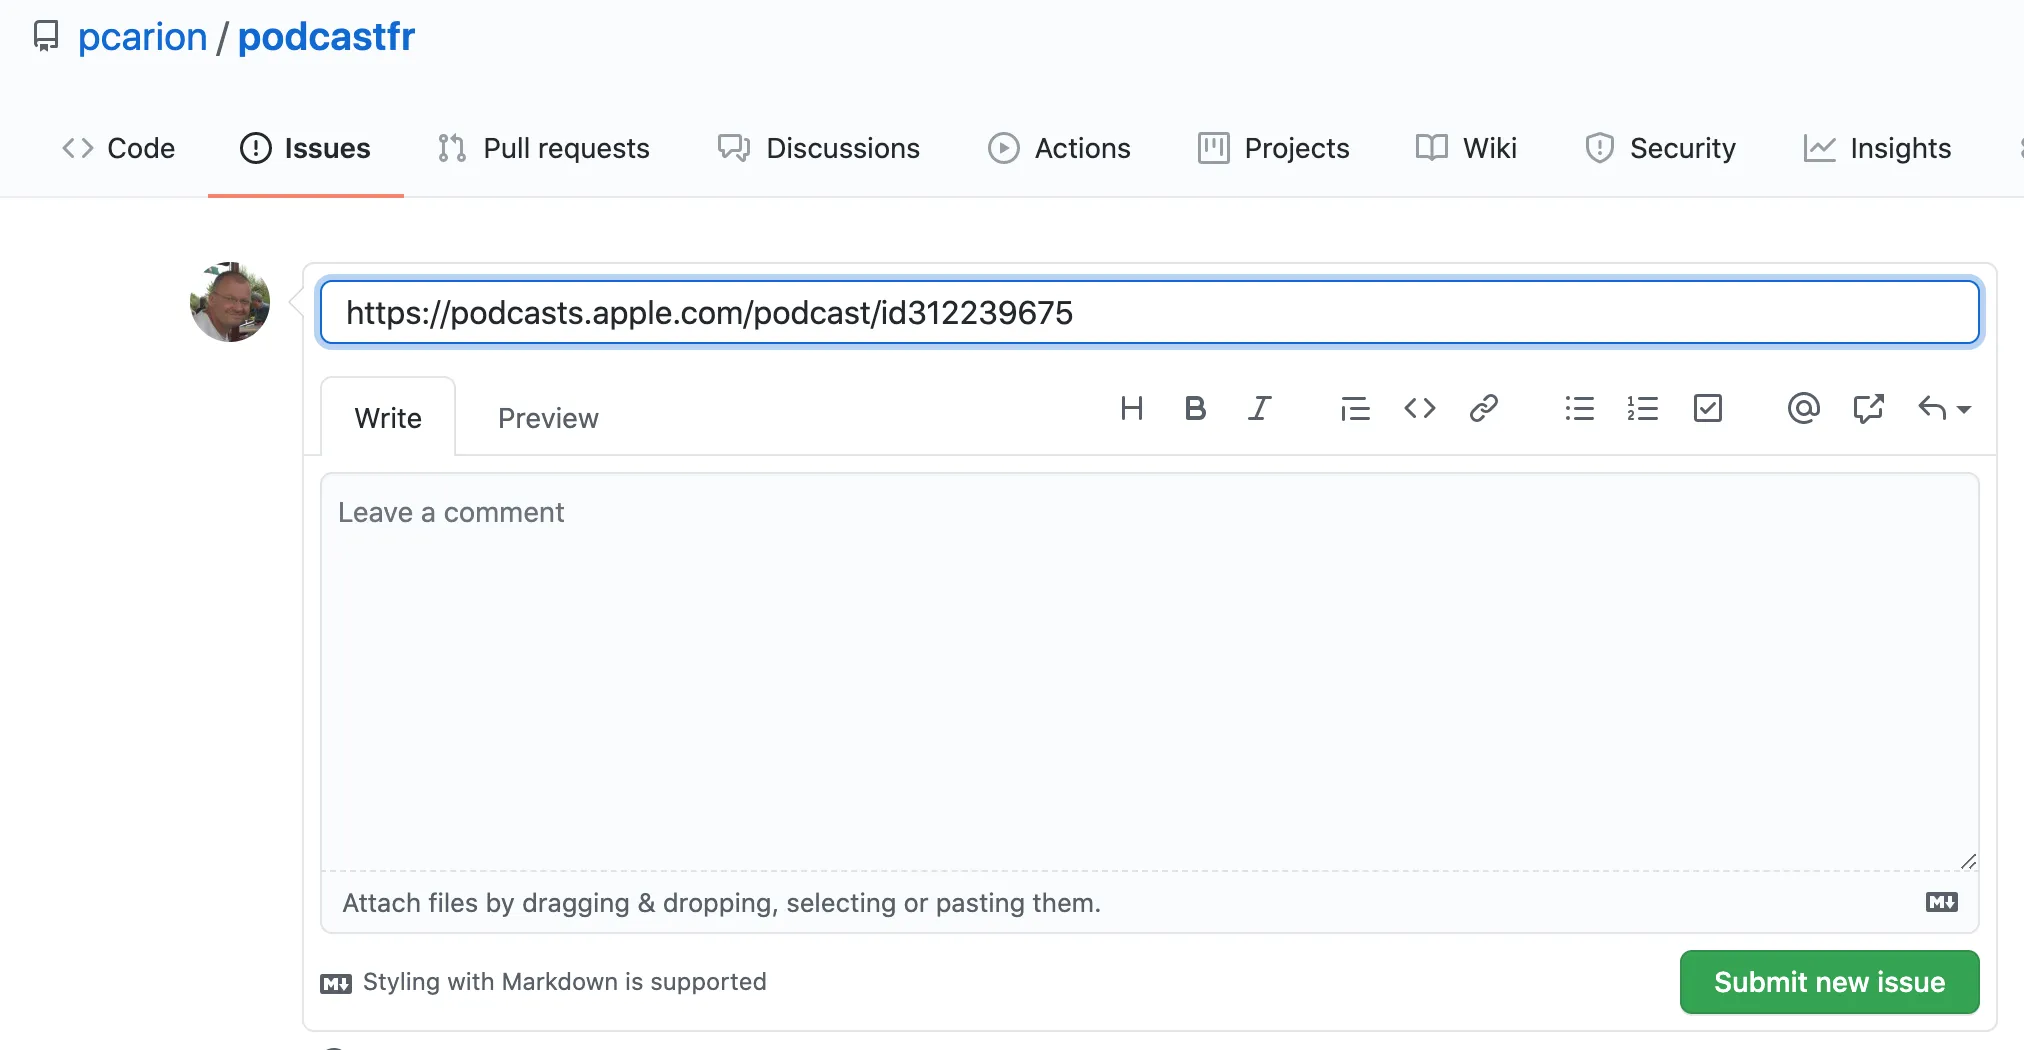
In order to add a new podcast, the contributor opens an issue and write the RSS or the itunes URL of the podcast in the title of the issue:
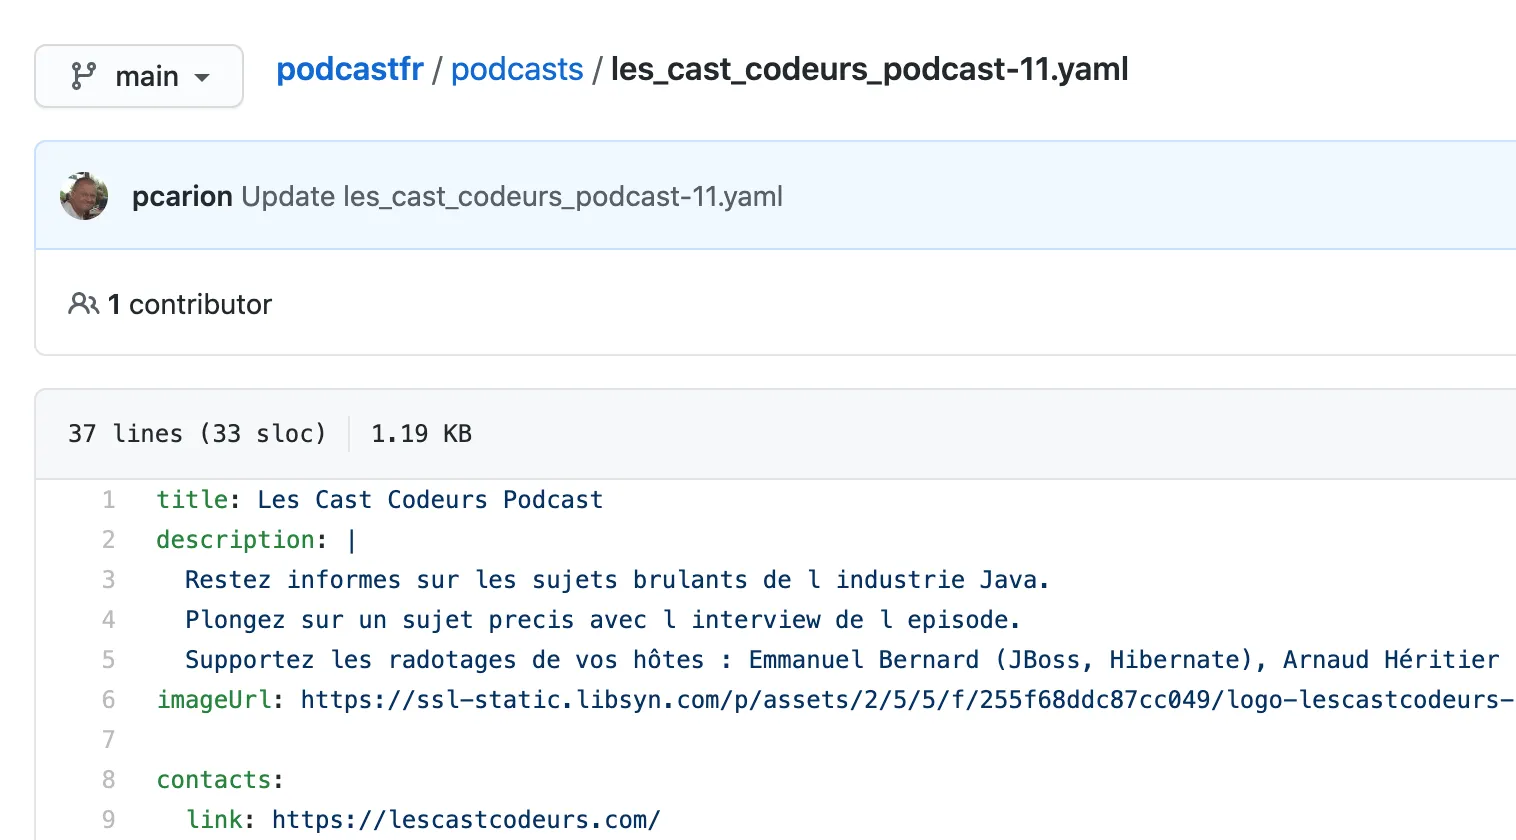
 A github app will process this issue and, by accessing the data associated to the podcast feed, will generate a yaml file for this new podcast and commit it to the repo in the
 podcasts directory.

Alongside the yaml file, a json file is also generated. This file contains extra information (such as the color of the logo, the list of episodes, etc…) which are not editable by the contributors but is used to generate the actual website.
The json file will be processed by Gatsby to actually generate the website: Netlify will automatically generate the website each time a json file is added/modified.
Github pull requests to update a podcast
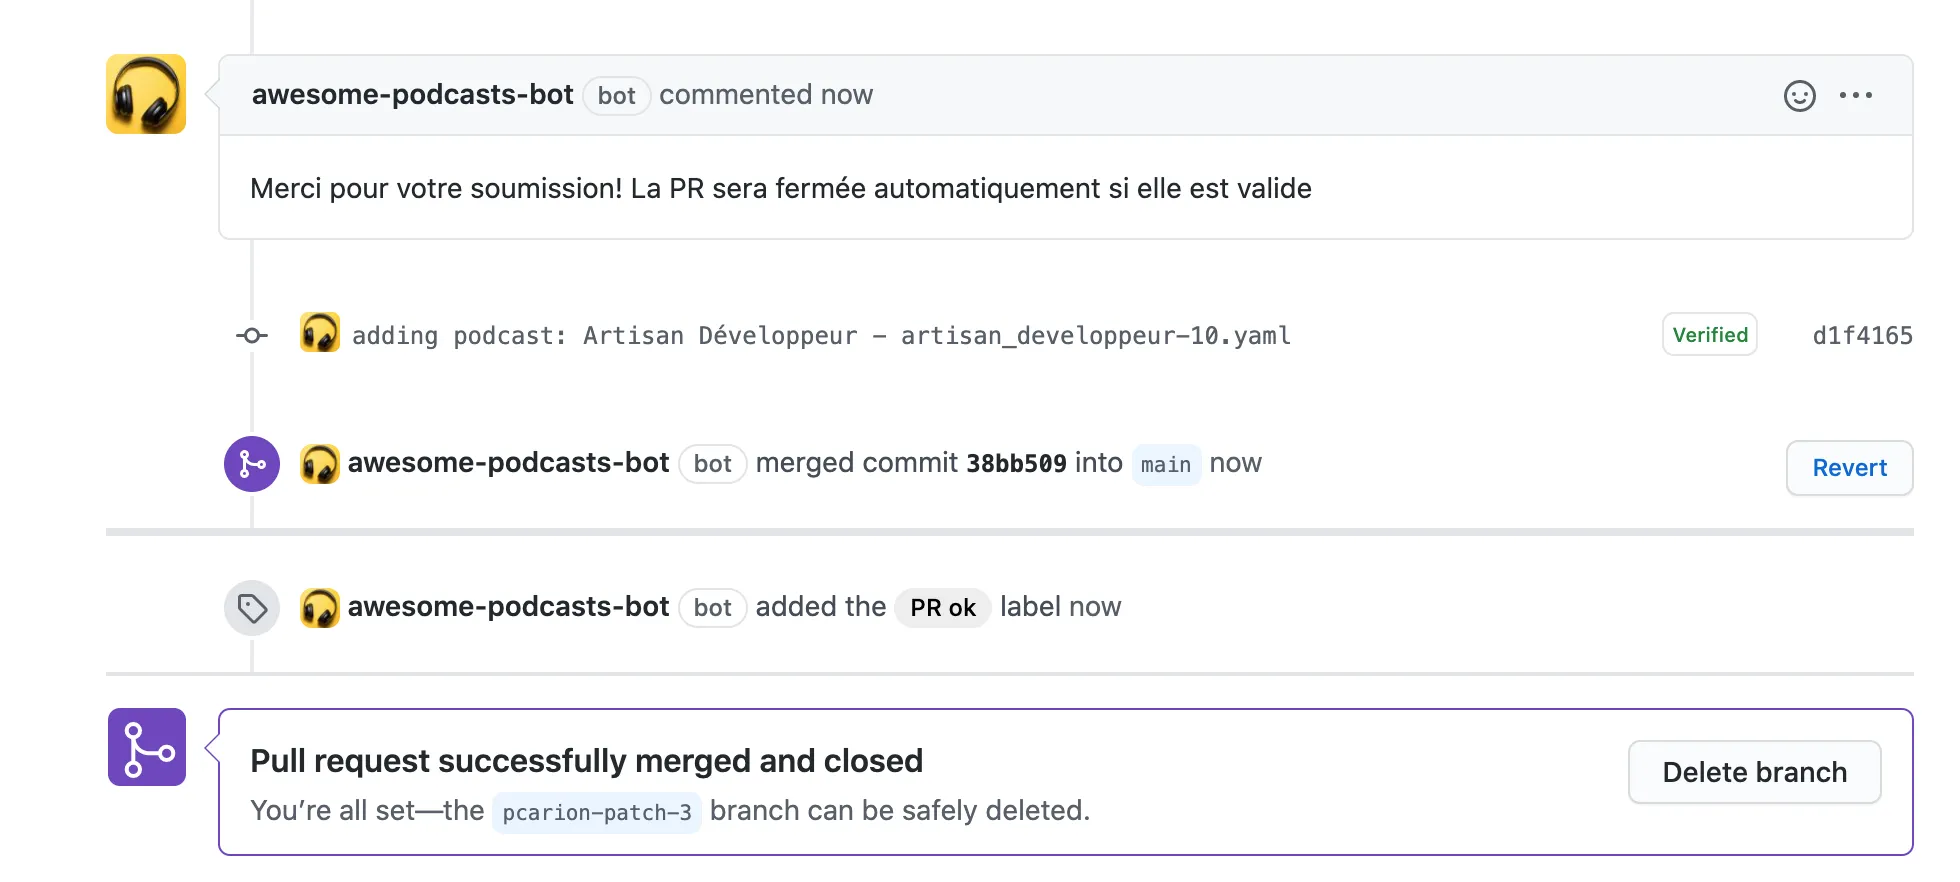
If a contributor wants to edit a podcast, he can open a PR on the yaml file of the given podcast, make his edits and submit the change as a Pull Request. All this can be done using the gitbub web interface.
 The github app will process the new yaml file, perform a few checks, regenerate the json file and automatically merge that PR:
 Netlify will then regenerate the site automatically.
GitHub app and GitHub workflow.
Github offers 2 mechanisms to automatically process issues, PRs or most of the user interactions on Github.
Those 2 mechanisms are GitHub workflows and GitHub apps.
A GitHub workflow is pretty straightforward:
- you create a script in a yaml file in the
.github/workflowsof your repository - this script declares the GitHub events which would trigger that script. For instance, when an issue is opened, a PR created or on a time based event (cron job)
- the script then executes a bunch of GitHub actions. You can either use predefined GitHub action (such as performing a checkout of the repo), or create your own actions.
A GitHub app is a bit more complex, but more powerful:
- you also define the set of events you want your GitHub App to process
- the events will call a web hook where the app can perform its processing
- you need to deploy somewhere an HTTP server to receive and process those web hooks
In both case, your Swiss army knife to interact with git and GitHub is the octokit library, so you need to be comfortable with the plumbing interface of git rather than the porcelain.
A GitHub action is somewhat easier to implement but there are some limitations. For instance, it is not possible to merge a PR to the default branch from a github action.
For my use case, I am using both a GitHub app and a GitHub workflow:
- the GitHub App is in charge of processing the issues and the PRs submitted by contributor
- a GitHub workflow is used as a cronjob to regenerate the content of the site everyday at midnight.
Netlify deployments
One of the fastest way to deploy a website is to use Netlify. As the actual site generation is using GatsbyJS, the integration is as simple as registering your repo with Netlify and ask Netlify to perform a npm build to generate and publish the content.
It is worth mentioning that Netlify offers a plugin system that allows you to hook processing at the different stages of the pipeline generation.
Github App development
The easiest way to start the development of a GitHub App is to use the open source project Probot.
In a couple of minutes you can setup your own GitHub App by running a local HTTP server, using a smee.io proxy.
To create an app in GitHub, you go to your <upper right profile>/Settings/Developer settings menu and you click on new GitHub App
The form there is pretty straightforward: you need to provide a callback URL to receive the web hooks coming from GitHub and you get:
- an App ID
- a private key file
deployment of a GitHub App
You need to have an HTTP server running somewhere to receive the different web hook notifications.
To host a server somewhere seemed overkill and to have to babysit and monitor that server would defeat the purpose to have a solution with as little required maintenance as possible.
The GitHub App was hosted as an AWS Lambda function behind an AWS Gateway HTTP API.
It was announced during the last reInvent, that it was now possible to deploy a Lambda using a docker container so I tried that too.
Configuration
- aws lambda environment variable
- cert file in docker image
- local file in repo where robot is installed
You can bundle a github action and a github app in the same repository, but their distribution mode is different:
- the github app will be distributed as a docker image pushed to AWS ECR
- the github action will be distributed as a git tag reference, meaning that the generated code for the action has to be pushed in the repository
You can share the code between a github action and a github app,using probot, except for the fact that probot is wrapping the actual octokit instance to be make it a little bit easier to use.
You can solve that little discrepancy in Typescript:
import { ProbotOctokit } from 'probot';import { getOctokit } from '@actions/github';
export type GithubOctokit = ReturnType<typeof getOctokit>;
export type BotOctokit = InstanceType<typeof ProbotOctokit>;
export type Octokit = GithubOctokit | BotOctokit;
To deploy a github action, it is recommended to use a tag:
The first time you want to publish your github action, you create your tag and push it:
$ git tag -a -m 'v0.1' v0.1$ git push --follow-tags